Part 2: Chart Overlay – Pinescript Tutorial Basics
Before we get started in you haven’t read my short introduction see this post here: About Me
Previous Posts in Series:
Pinescript version 5
Useful links:
Goal
Add input functions to a simple chart overlay text indicator using Pinescript.
Let’s begin.
Load up your trading view account. https://www.tradingview.com/. Open up a chart and locate the “Pine Editor tab in the bottom right corner. Open the indicator we created in the first part of this series. If you haven’t seen that yet here is the link: Part 1: Chart Overlay – Pinescript Tutorial Basics
Start by adding a comment using “//”. I’m a big advocate of commenting your code as at least for me it helps organize my thoughts and makes my code easier to read when going back to make changes. The comment we’ll add is “//inputs”, this will be below the first line in the code which initializes the indicator.
// This source code is subject to the terms of the Mozilla Public License 2.0 at https://mozilla.org/MPL/2.0/
//@version=5
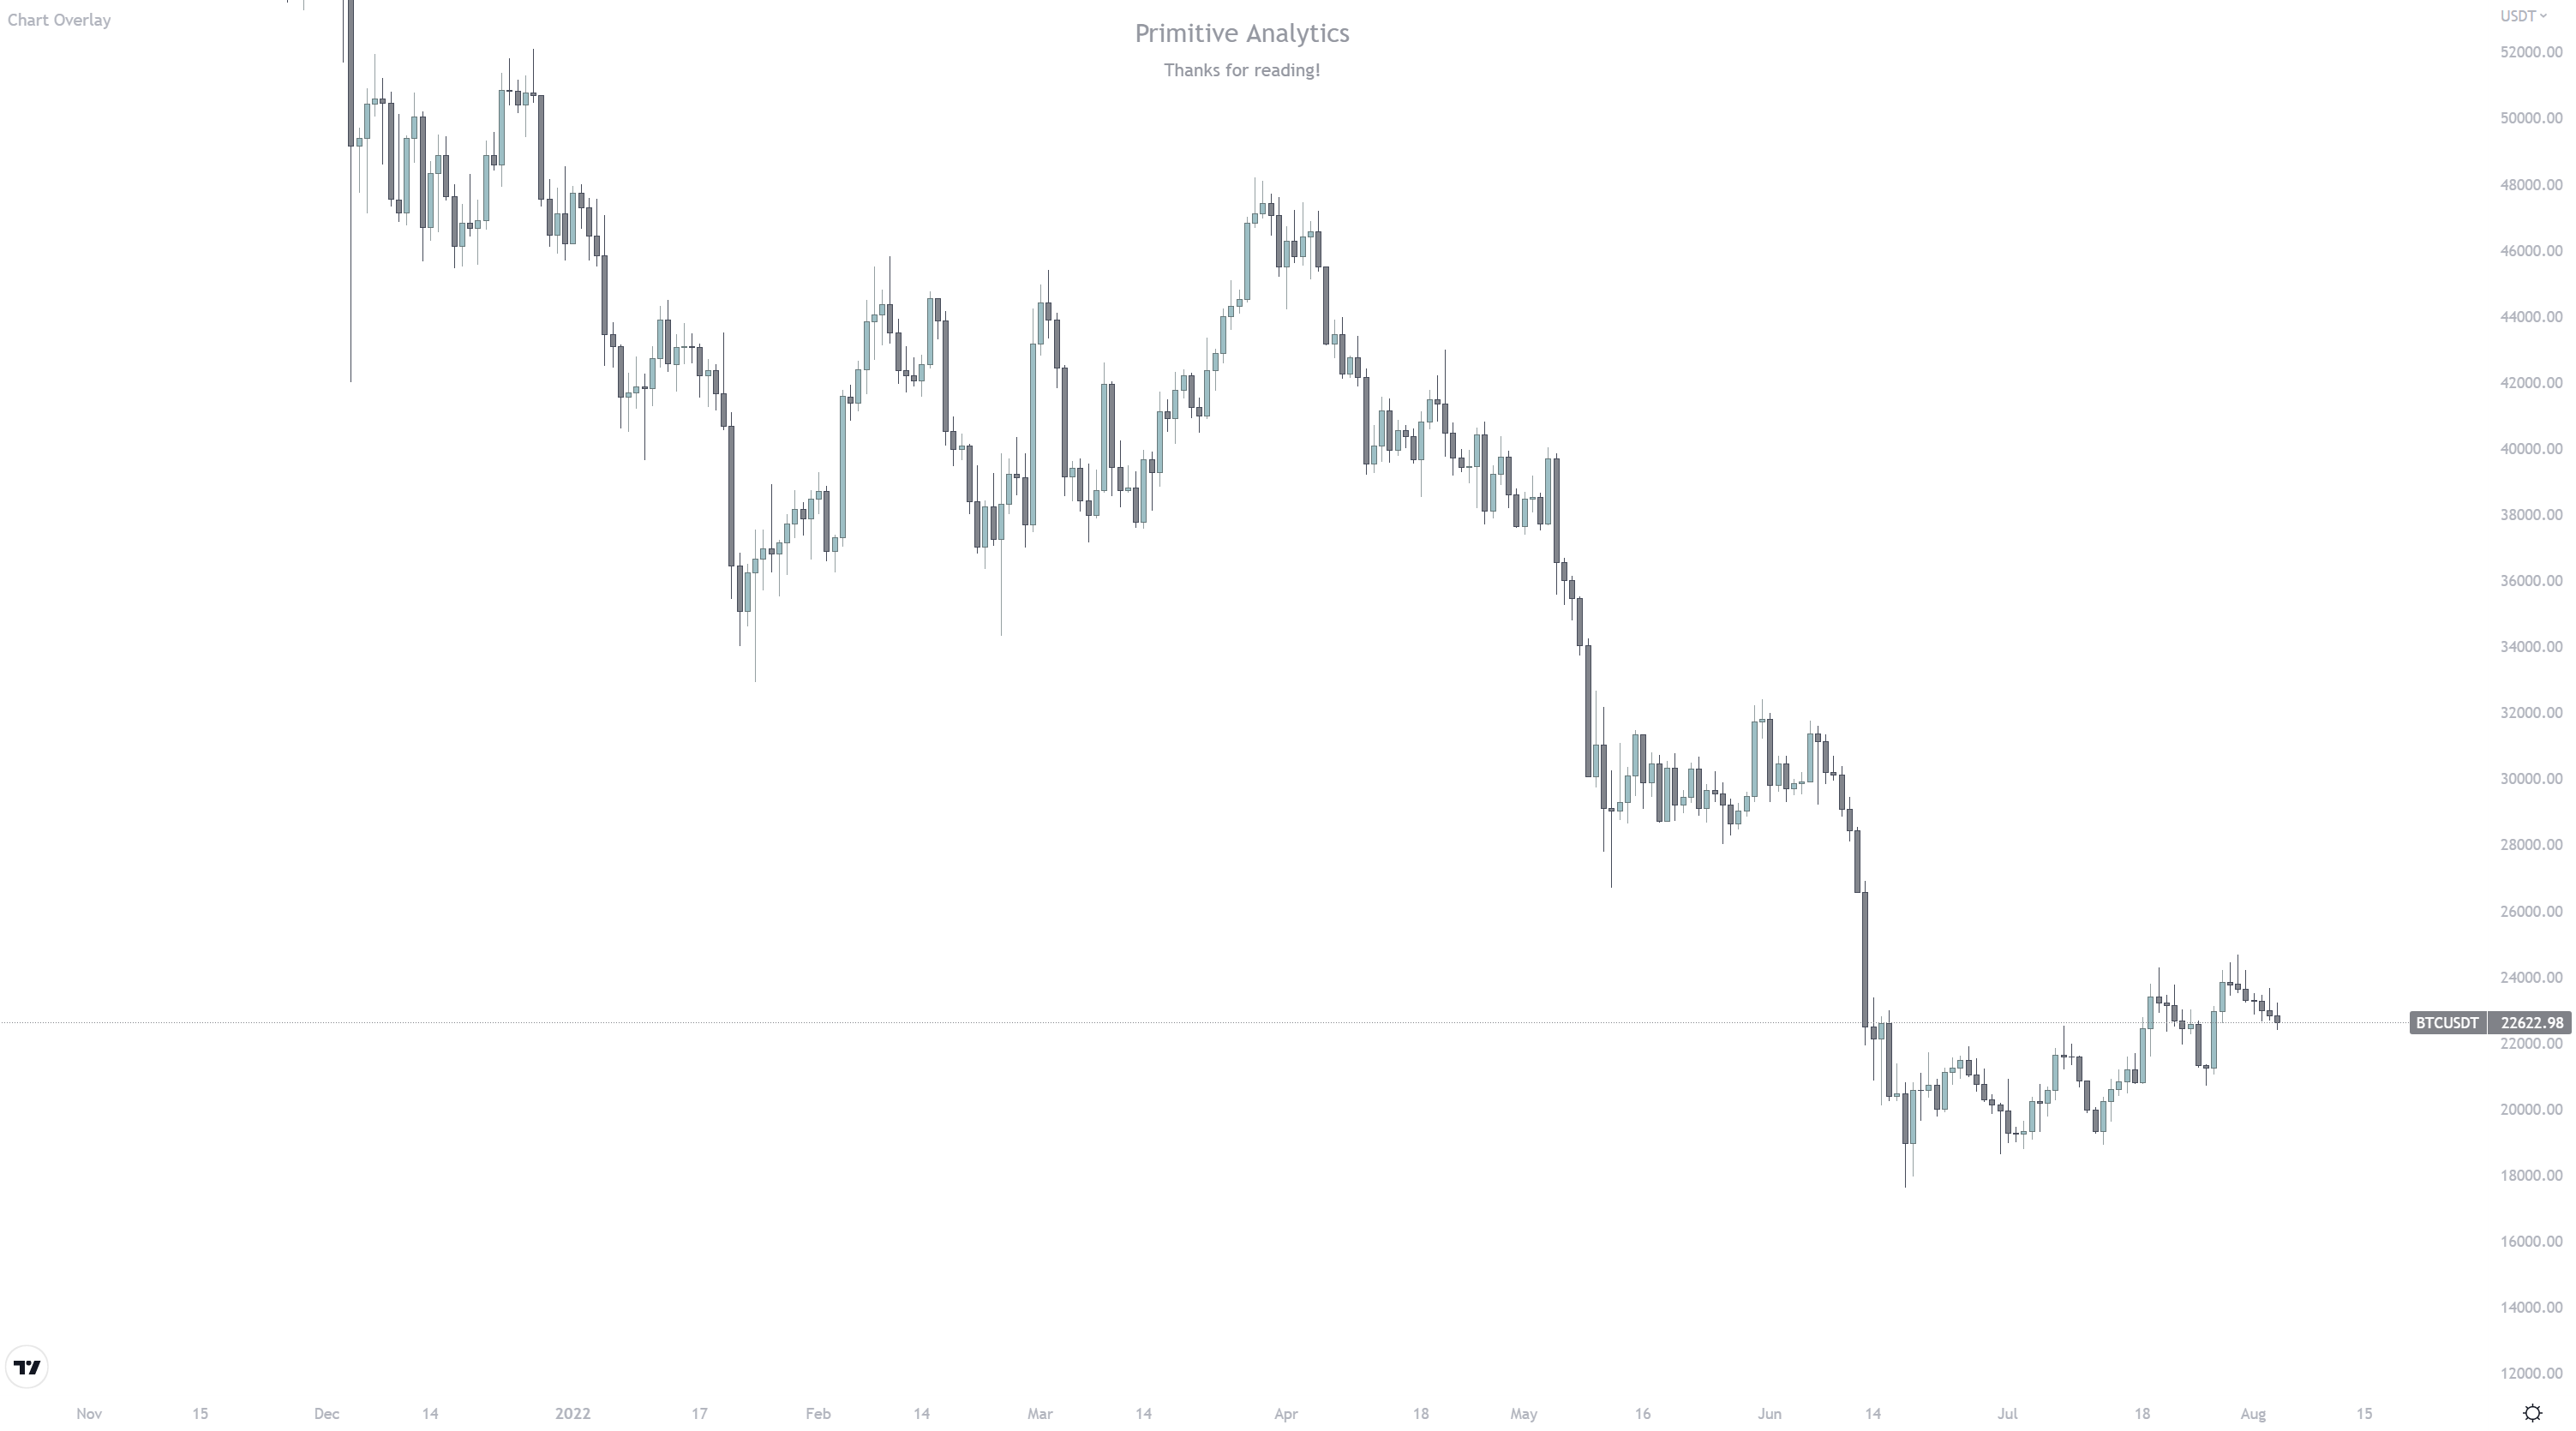
indicator("Chart Overlay", overlay = true)
//inputsFrom this point on we can separate out the different types of inputs we’ll create as well.
First inputs we’ll create are the text inputs, the function is input.string()
Create a variable and then make it equal to the function above, since we have two strings – create both now.
//inputs
//text inputs
headingString = input.string("Input text here")
subHeadingString = input.string("Input text here")
Now that we have the two input variables we need to assign the variables to the table function.
    table.cell(table_id = overlayTable, column = 0, row = 0, text = headingString, text_color = color.black, text_size = size.large)
    table.cell(table_id = overlayTable, column = 0, row = 1, text = subHeadingString, text_color = color.black, text_size = size.normal)
Save the script and now we should be able to modify the text by clicking the settings of the indicator.

Change the text to whatever you want and click “OK” this will save to the chart.

Next let’s add colour inputs to these. Only difference now is we’ll use a different input function, and you can guessed it input.color() Again we’ll also assign these variables to our table function.
//colour inputs
headingColour = input.color(color.black, title="Heading Colour")
subHeadingColour = input.color(color.black, title="Sub-Heading Colour")
    table.cell(table_id = overlayTable, column = 0, row = 0, text = headingString, text_color = headingColour, text_size = size.large)
    table.cell(table_id = overlayTable, column = 0, row = 1, text = subHeadingString, text_color = subHeadingColour, text_size = size.normal)
Editing the indicator should now show additional input options.

That’s it!
Now you can modify the text and colour of the overlay without having to modify your script.
Complete script is below:
// This source code is subject to the terms of the Mozilla Public License 2.0 at https://mozilla.org/MPL/2.0/


//@version=5
indicator("Chart Overlay", overlay = true)

//inputs
//text inputs
headingString = input.string("Input text here")
subHeadingString = input.string("Input text here")
//colour inputs
headingColour = input.color(color.black, title="Heading Colour")
subHeadingColour = input.color(color.black, title="Sub-Heading Colour")

//initialize table element
var overlayTable = table.new(position = position.top_center, columns = 1, rows = 2)
if barstate.islast
    table.cell(table_id = overlayTable, column = 0, row = 0, text = headingString, text_color = headingColour, text_size = size.large)
    table.cell(table_id = overlayTable, column = 0, row = 1, text = subHeadingString, text_color = subHeadingColour, text_size = size.normal)
Thanks for reading this pinescript tutorial! Next post will be a bit more complex and we’ll add the ability for the text to be unique for each day of the week.


